- Click Start, then select Control Panel.
- Click Classic View in the left panel.
- Double-click the Printers icon:

- Windows 7: Click Start, then select Devices and Printers.
- Click Add Printer (see Figure 1).
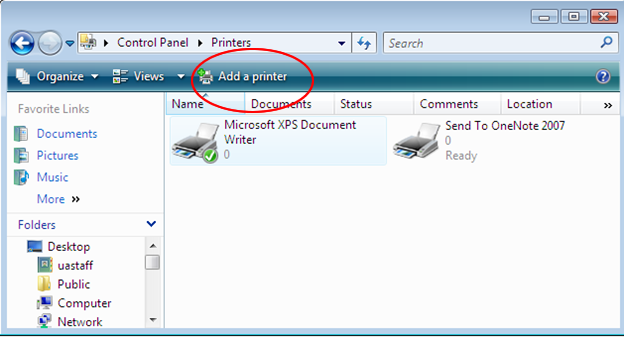
Figure 1.
- Select Add a network, wireless, or Bluetooth printer, then click Next (see Figure 2).
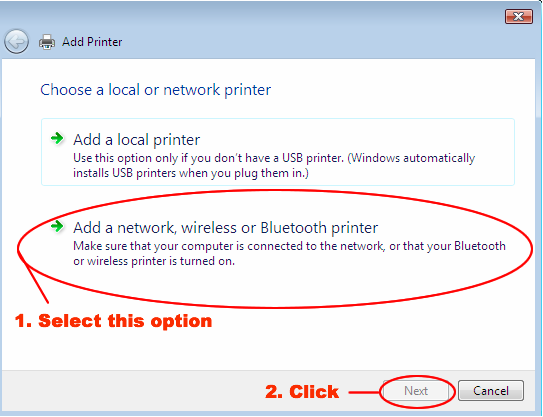
Figure 2.
- Select The printer that I want isn't listed, then click Next (see Figure 3).
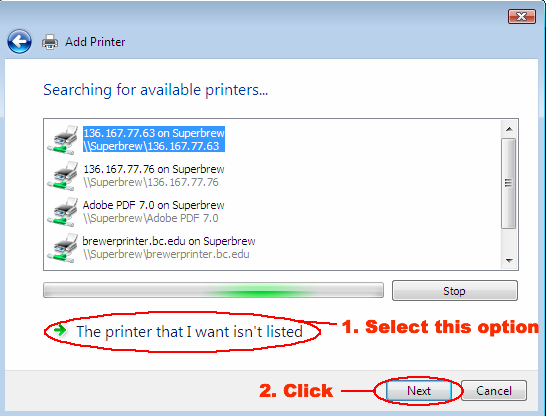
Figure 3.
- Select Add a printer using a TCP/IP address or hostname, then click Next (see Figure 4).
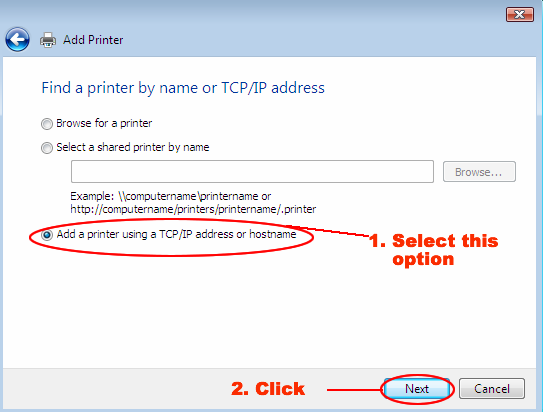
Figure 4.
- In the Hostname or IP address box, enter the printer name followed by ".bc.edu", then click Next (see Figure 5).
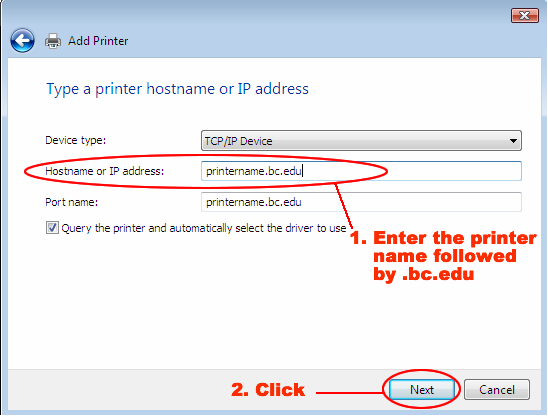
Figure 5.
- Select the type of printer you are using, then click Next (see Figure 6).
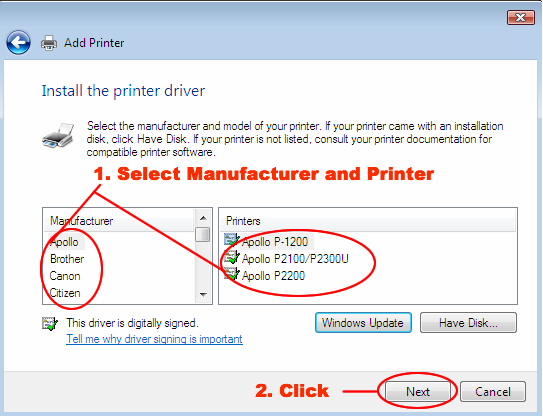
Figure 6.
- On the "Type a printer name window," do the following (see Figure 7):
- In the Printer name box, enter a name for your printer so you can identify it.
- If you want to make this printer your default printer, check Set as the default printer.
- Click Next.
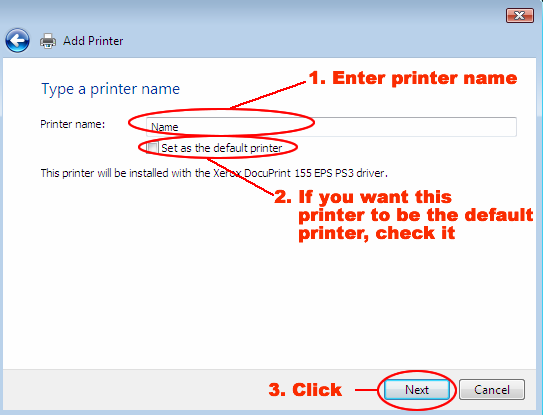
Figure 7.
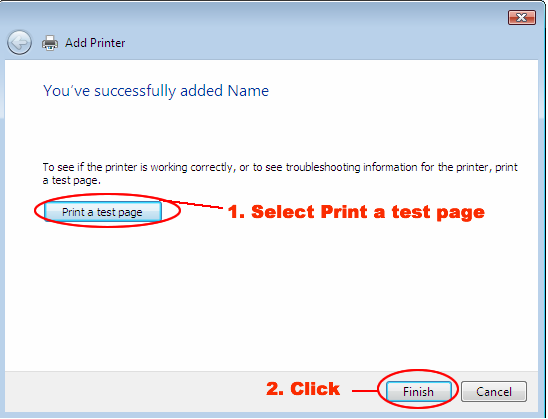
- On the "You've successfully added" window, do the following (see Figure 8):
- Click Print a test page.
Note: If the test page did not print correctly, call your TC (bc.edu/tc). - When you have successfully printed a test page, click Finish.
- Click Print a test page.
Monday, January 28, 2013
Adding a Printer from the BC Network
To add a printer from the BC network using Windows Vista (Windows 7 skip to step 4):
Subscribe to:
Comments (Atom)